Showing posts with label nail tutorial. Show all posts

Wednesday, January 11, 2012

Nails of The Day: Crystal Gradient Nails


I have done (tried and attempted) to do 3 different kind of nail designs before this one, and unfortunately, it kind of turned out really ugly because of my unsteady hands and ofcourse my nails being really short lately. So finally, after getting a few inspirations from ViVi magazine, I came up with this simple design.

Step 1:

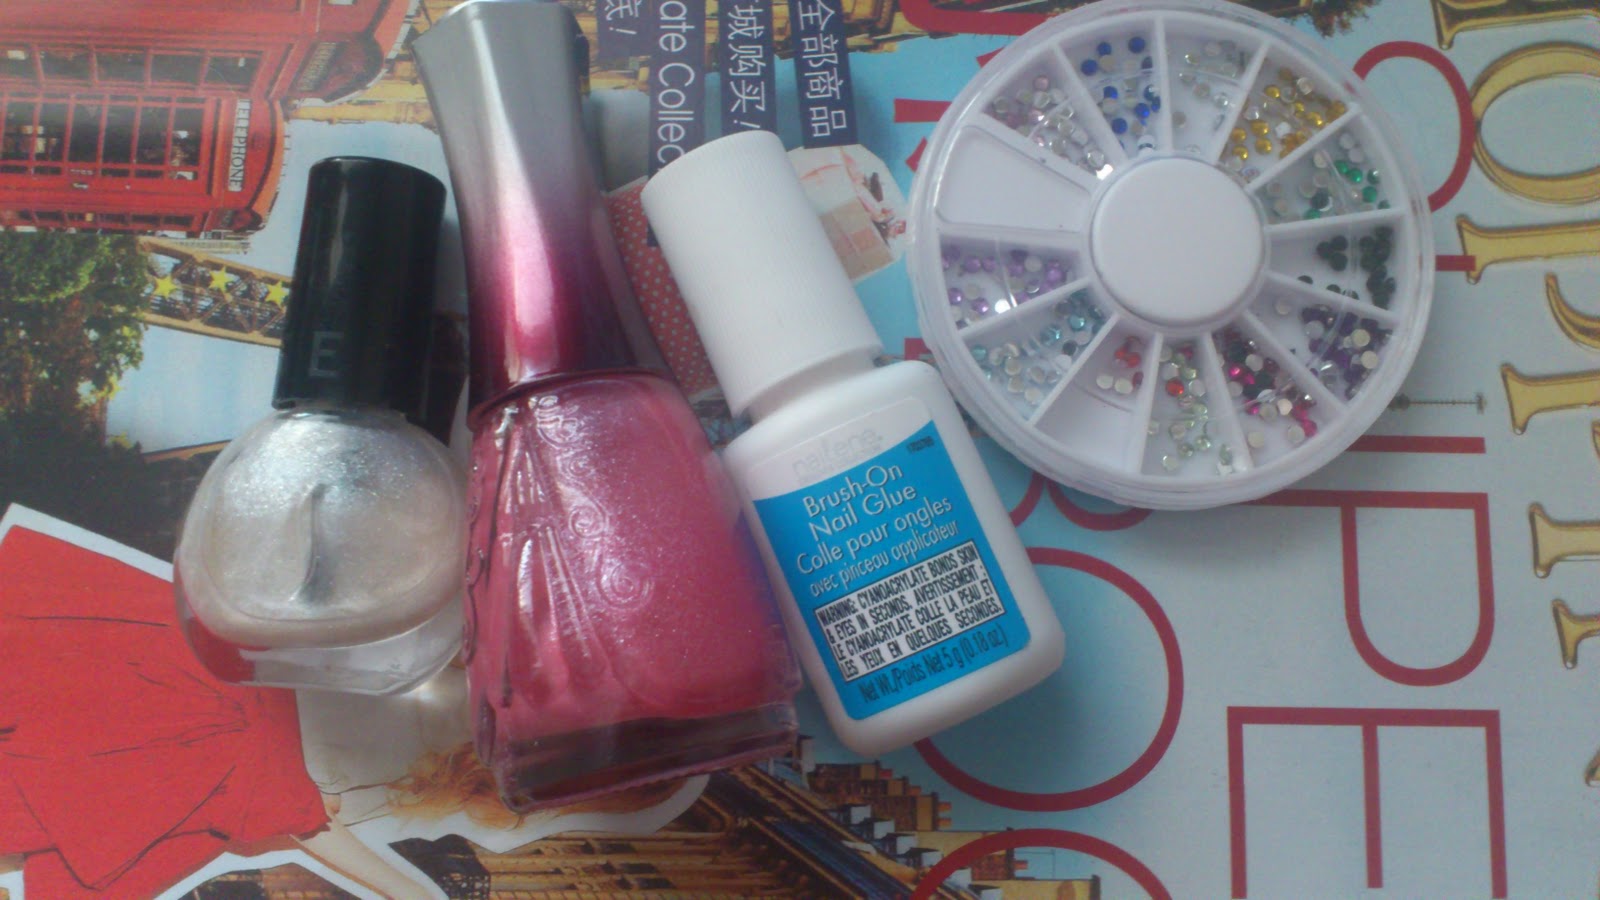
With any sparkly white nail varnish, apply 1-3 coats of it, depending on how transparent your nail varnish is. Apply until opaque and let dry. I used the Sephora kind (I forgot the name)

Step 2.

With any pink Polish (I used a no name from that I got from Anime North lol), first apply a thin coat 1/2 way down the nail, then 1/3 of the way, and etc. until you get to the tip. This way, you are gradually building colour towards the tip of the nail.

Step 3.

Finally With a brush on nail glue, I used Nailene brand. You can use a clear nail polish instead, but I find using this dries faster and the crystals will stick on better. Use 2 crystals and stick them on the middle of the nail on the bottom as shown. Finish with a top coat if you desire.

You're done =)

Tuesday, January 3, 2012

Nails of the Day: Royal White


Usually, I wouldn't do my nails if they are short, but since its just the starting of the term and I figured I might as well be creative with nails before the term progresses and I get busy and won't have any time to make any blog posts, I figured, why not?


Step 1:
Use a pink nude sheer colour and add 1-2 coats of polish. Let dry, I used Sally Hansen Salon Manicure - Camella

Step 2: Using the nail guard sticker, place it near the cuticles of your nail

Step 3. Use white nail polish to paint the "tips" I used OPI

Step 4. Use the crown nail decals and place where the white polish meets the pink nude one

Step 4. Add a silver gem to the middle of the brown. Add a top coat, I used OPI - Original Nail Envy which results in an amazing shine

And repeat this for all nails and you're done =)


Sunday, September 11, 2011

Nails of The Day: Midnight Butterfly

And I present you with another simple nail design...even though this took me 1/2 hr to do


1. Sally Hansen No Chip 10 Day Nail Colour - Clear
2. Sally Hansen Diamond Strength Nail Colour - Admiral Blue
Step 1. With The Navy Nail Colour, Brush This on nail


Step 2. Immediately, (DO NOT WAIT FOR NAIL TO DRY), place the butterfly nail decal and the 3 pearls onto the nails. Repeat for rest of the nails. Finish With Top Coat


Thursday, September 8, 2011

Nails of the Day: Crystal Rocks

This is the 2nd time of the day where I changed my nails. I was unhappy with the way my first design looked (not to mention the pearls fell off and it took practically 1 hr to do). This nail look is much simpler  and it took only 15 minutes to do

1. Rimmel Lycra Wear - 399 Black Satin
2. Nail Gems
3. Sally Hansen 10 Day No Chip Nail Colour - Clear
 Step 1.
Choose any colour that you want to be the base. I choose Black. Paint your entire nail with this colour.

Step 2.
Pick any small size crystals, and using tweezers, put them on one side of the nails. Do this immediately right after you paint your nails because you don't want the nail polish to dry or else the crystals will not stick. Repeat for all fingers. And let dry.

Step 3.
Coat with a clear top coat.


Monday, September 5, 2011

Nails of The Day: Gunmetal Butterfly

Yay! First post of September....A new term's starting, and I'm so NOT excited for the cold weather, which is already happening. I remember 4 years ago I was still able to wear shorts outside, now I'm wearing long jeans and even a sweater outside because its so cold. =(. Anyway, I've been using the same old routine for my nails, just different colours and sticker styles. For the tutorial, click here Enjoy.


Sunday, August 28, 2011

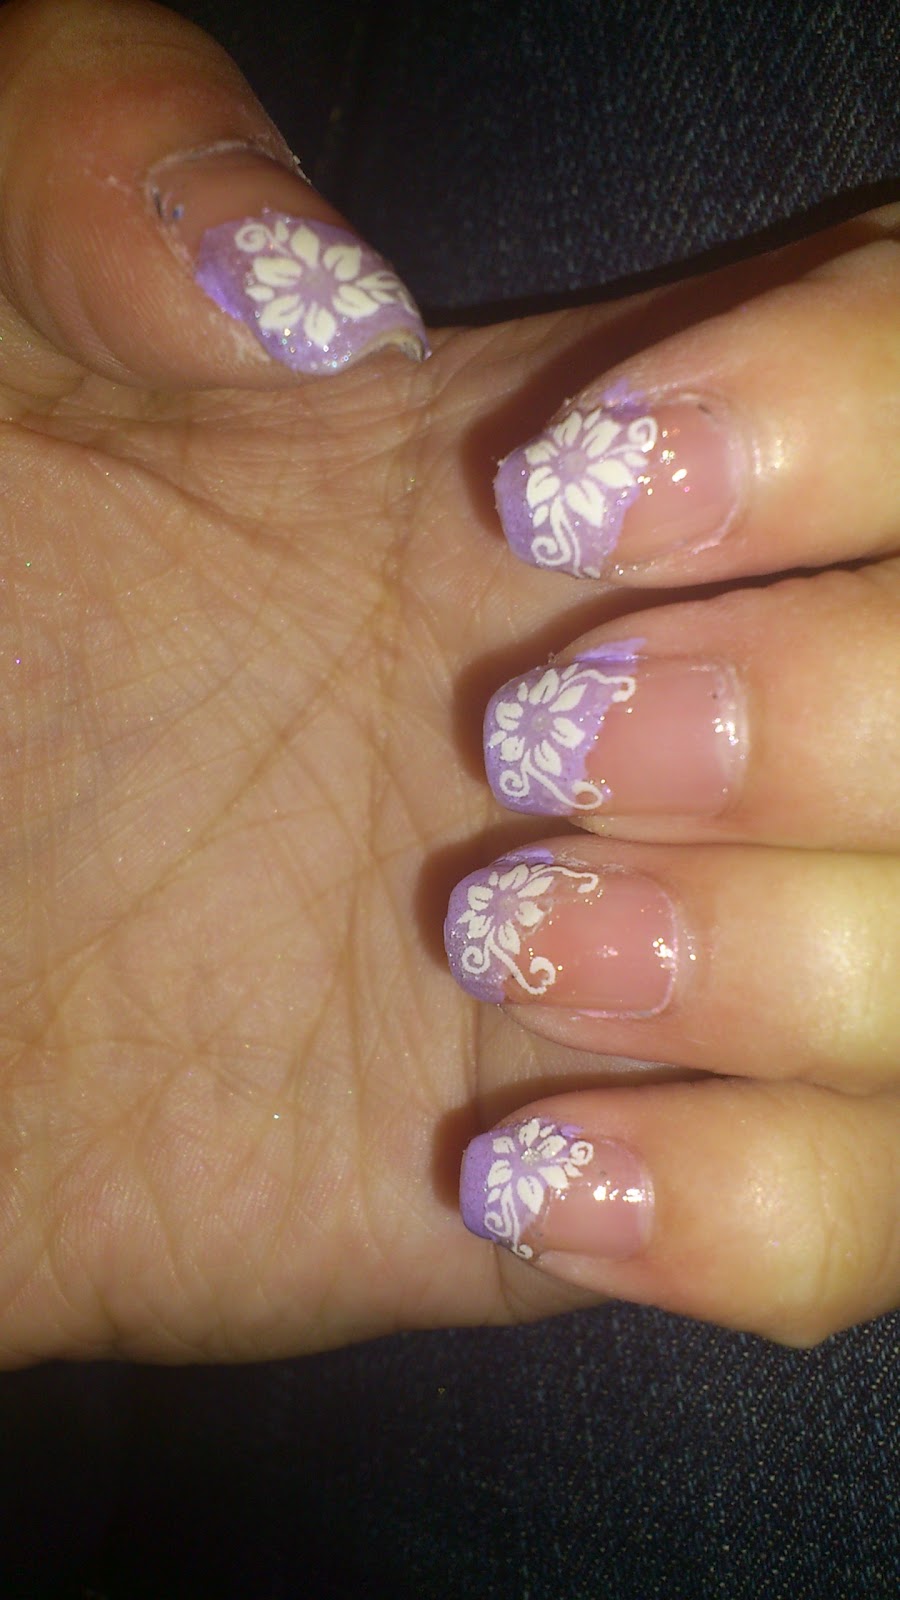
Nails of the Day: Pretty Floral Purple Nail Tutorial

I have been really bored with my nails lately, and I've been changing my nail style every single day, because I feel that whatever I have on my nails, just isn't good enough...and I'm really tired of just mono coloured nails. So tonight, this is what I've came up with

excuse my disgusting thumb and the my sloppy skills at putting on nail polish


These are the 3 polishes that I've used:


1. H&M nail polish - Lovely Lavender
2. OPI - Happy Aniversary
3. Sally Hansen No Chip 10 Day Nail Color - Clear

Step 1.


Start by taking small pieces of tape and using the straight edge to tape the bottom part of the nails on a slant. Do this for each finger


Step 2. 

taking a lavender polish, colour in the upper part of the nails where there's no tape. This will give you that clean edge tip when the tip is taken off. 

Step 3. 


to make the more elegant,  add this glittery top coat on top of the lavender polish.

Step 4. 


When the nail polish is dry-ish, take the tape off, and stick the floral decorations on top of the painted nails. When the tip of the nails isn't completely dry, it is easier for the stickers to be stuck on them. Make sure the stickers are firmly stuck on the nails, and wait for the polish underneath to dry.

Step 5.


Add a top coat as a final step. And you're done =)